Rhubarb pecan muffins!

IMG_4205

I’ve been trying to grow rhubarb for a couple of years now but I can’t get the ants to stop eating the leaves, and the stalks are also too small to use yet. Maybe next year! Fingers crossed 🤞. In the meantime as soon as it comes into the markets I’m grabbing a huge bundle of it to take home and get my fill before it’s all gone.

This recipe for rhubarb pecan muffins is very old and I’m not sure where I got it from but I hope you give it a try. It’s fail safe and tasty especially with the addition of orange zest and orange juice. YUM!

INGREDIENTS

2 cups of all – purpose flour ( I’ve made it with gluten free 1:1 all purpose)

3/4 cup white sugar

1/2 tsp baking soda

1 1/2 tsp baking powder

1tsp salt

1 egg

3/4 cup of orange juice

1/4 cup canola oil

2 tsp grated orange rind

1 cup chopped rhubarb

3/4 cup chopped pecans

In a large bowl combine the dry ingredients and in a second bowl mix the egg, orange peel, oil and juice together. Add the wet into the dry and mix until moistened. Add rhubarb in.


Scoop into paper lined muffin cups and bake at 375 F for 25 – 30 min until done. Makes 12 muffins.


IMG_9622

IMG_9625

Follow this link for the Rhubarb crisp SPRING MEANS RHUBARB!!

Hope you give these a try!  You won’t be disappointed 🙂

LIVE LIFE FULLY ❤  Charlene

SMOOTHIES: Nutrition in a glass!

I had been wanting a Vita mix blender for eons and finally got one last Christmas.  I was so excited and once I started using it I literally haven’t stopped.  It’s an easy way to pack nutrition, fibre and all into a drink.  It all depends on what I have in the fridge and freezer as to what I add in my morning drink.  The options are endless!! 🙂

I start with coconut water but read your labels.  I bought a LOT of cans only to find out they are coconut juice (added sugar) and not just coconut water 😦  Oh well I didn’t want to truck back all the cans so I have been slowly going through them all. Sigh  If I find its too sweet I will just add our filtered water to take some of the sweetness down.  🙂

So all measurements are approximate as it depends on what I have and how much I’m making.

IMG_8071


For one serving:

250 ml of coconut water

1/2 banana

1 Tblsp each of hemp seeds, chia seeds and flax seeds

2″ chunk of cucumber

1/2 cup of frozen fruit (mango, strawberries, blueberries, blackberries, raspberries)

1/2 scoop of protein powder (omit if making for small children, as its too hard on the kidneys)

1/2 carrot, peeled and chopped

one small serving of yogourt

1 large handful of spinach

Blend and enjoy!  Keeps well in the fridge overnight.

Your options are endless!   I also use Avocado and kale if I have it in the fridge or frozen in the freezer.

It’s made breakfast quick and nutritious in the morning or a mid morning snack if I’ve actually made breakfast.

Give it a try and I’m sure you will become a smoothie convert as I have!!

LIVE LIFE FULLY ❤  – Charlene


FRENCH MADELEINES

I had a madeleine specific pan sitting around and after looking at it for months I decided to try it out and make a batch of the cute little cookies.  I’m not sure if you could make this recipe if you didn’t have a special pan as the dough is cake like and I think it would spread too much.

IMG_7191

Preheat oven to 325 degrees F

Prepare your pan by using either cooking oil or spray.

INGREDIENTS

1 cup all purpose flour

1/4 tsp baking soda

1/2 tsp baking powder

2/3 cup of white sugar

zest of one lemon

1 tsp vanilla

1 whole large egg and 1 egg yolk

1/2 cup melted butter

1 Tblsp lemon juice

1/4 cup vanilla yogourt

Mix dry ingredients together in a bowl.  In a separate bowl, mix sugar, butter, zest, vanilla and eggs.  Once wet ingredients are mixed together, add dry ingredients and mix until just incorporated.

Using a small spoon, fill the pan indents with batter until even with the top of the indent.  Don’t overfill.  The recipe said to use a rounded tablespoon but I found that to be too much.

Bake 10 -15 minutes depending on your oven, until lightly golden.  Cool for 2 minutes in the pan and then invert the pan and place cookies on a cooling rack.  Cool completely.  Since this made 2 batches you have to wash your pan and oil it again for the second batch.

When cool you can eat as is as they have a lovely lemon flavour or you can additionally  dust with icing sugar.  I didn’t want them too sweet so I omitted the icing sugar.  It might have helped conceal the imperfections a little better if I had used icing sugar haha.

IMG_7222

They did taste yummy with a cup of tea.  I will definitely try these again.  Each pan has 16 indents and the recipe makes 32 cookies.

Bonne chance! making these little French morsels.  They would be great for a shower or luncheon.

LIVE LIFE FULLY ❤  Charlene


COCKTAIL NAPKINS

Last weekend I finally took a day to have some alone time.  I had some gift cards to the local book stores and I ended up spending an extra $5.63 and got an overnight bag and 8 books!  I LOVE reading books and magazines!  I think I’ve mentioned this before in a previous blog post 🙂  After the book store, I went to another favourite…the FABRIC store and found some more deals…yay!!  I’ll have to update you  on what else I make, but for now, I got this cute fabric with little cocktails all over it and decided to make, what else?  Cocktail napkins!!  They turned out so cute  🙂

IMG_6897

I cut the fabric into 10 inch squares and then proceeded to hem all  four sides.  I iron as I go along and then I only have to pin the corners.  I did a 1/2″ hem,  2 folds of 1/4″ each and a mitred corner.  It’s very easy to do and you end up with napkins that are original and washable.

These are going to be so cute when we have cocktails or appetizers ❤  I can’t wait to use them!!

I encourage you to give it a try as its rewarding and easy! 🙂

LIVE LIFE FULLY ❤

Charlene

CHILI FOR CHILLY DAYS :)

We have had a lot of snow this winter which is unusual of our part of the country.  I will definitely get into the comfort food aspect of cooking when it gets like this.  You just want to have something hearty and warm when the weather is cold or just damp and chilly!

Chili comes in many forms and I’m sure everyone has a different recipe and they are all good, but we love this one and its super easy. 🙂

img_6435

Start it in the morning and leave it on low for the day in the slow cooker, and by supper you have a ready meal and the house smells yum.

img_6420

Ingredients:

1 – 28 ounce can of tomatoes or 1 quart of homemade canned tomatoes

2 – 28 ounce cans of red kidney beans (drained and rinsed)

1 lb of ground chicken or turkey browned

1 small onion chopped and cooked until translucent.  (optional) (I will put it in the pan after the chicken has cooked to absorb some of the browned bits.)

1/4 cup of brown sugar

1 Tblsp of Chili powder

salt and pepper to taste

1 Tblsp of worcestershire sauce

Add to the crock pot and put it on low for 6 – 8 hours.

img_6406img_6413

img_6408img_6412img_6417

Serve in deep bowls and garnish with grated cheese and sour cream and green onions if you like.  And of course the obligatory crusty roll!

Dig in and enjoy!! Yum 🙂

LIVE LIFE FULLY ❤  – Charlene

CHICKEN POT PIE :)

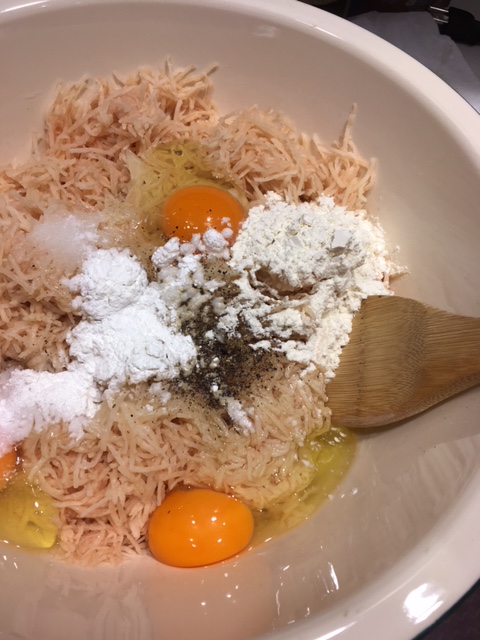
Recently I had some extra  chicken and decided to use it up by making a chicken pot pie.  It’s so yummy and the ultimate comfort food!  You can definitely use turkey as well.  I’ve never been one to love heated up left over meat of any kind unless its doused in gravy.  I will eat cold meat but reheating left over meat is something I try to avoid.  This recipe solves the dilemma very quickly and tastily 🙂

For the pastry, I’ve used the same recipe for years and years and its definitely a no fail recipe.

Pastry:

1 lb Tenderflake shortening

5 1/2 cups all purpose flour

1 tsp salt

Using a pastry blender or two knives cut the shortening into the flour and salt mixture until it resembles a coarse crumble.

img_5937

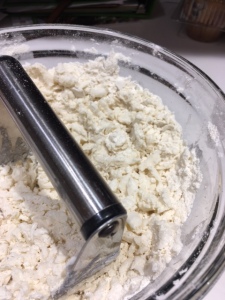
1 cup cold water (250 ml)

1 egg

1 Tblsp vinegar

img_5936

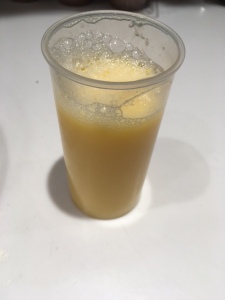
Mix the wet ingredients together.  Add to flour/shortening mixture and knead until it comes together in a ball.  Add the wet ingredients a bit at a time as sometimes you don’t need the entire 1 cup of fluid.

If the dough is too sticky chill it for an hour or two.  Roll it out on a floured surface and line a 9″ pie plate.  Prick the bottom surface with a fork in several spots to prevent the pastry from puffing up.  Set aside and prepare the filling

Chicken filling

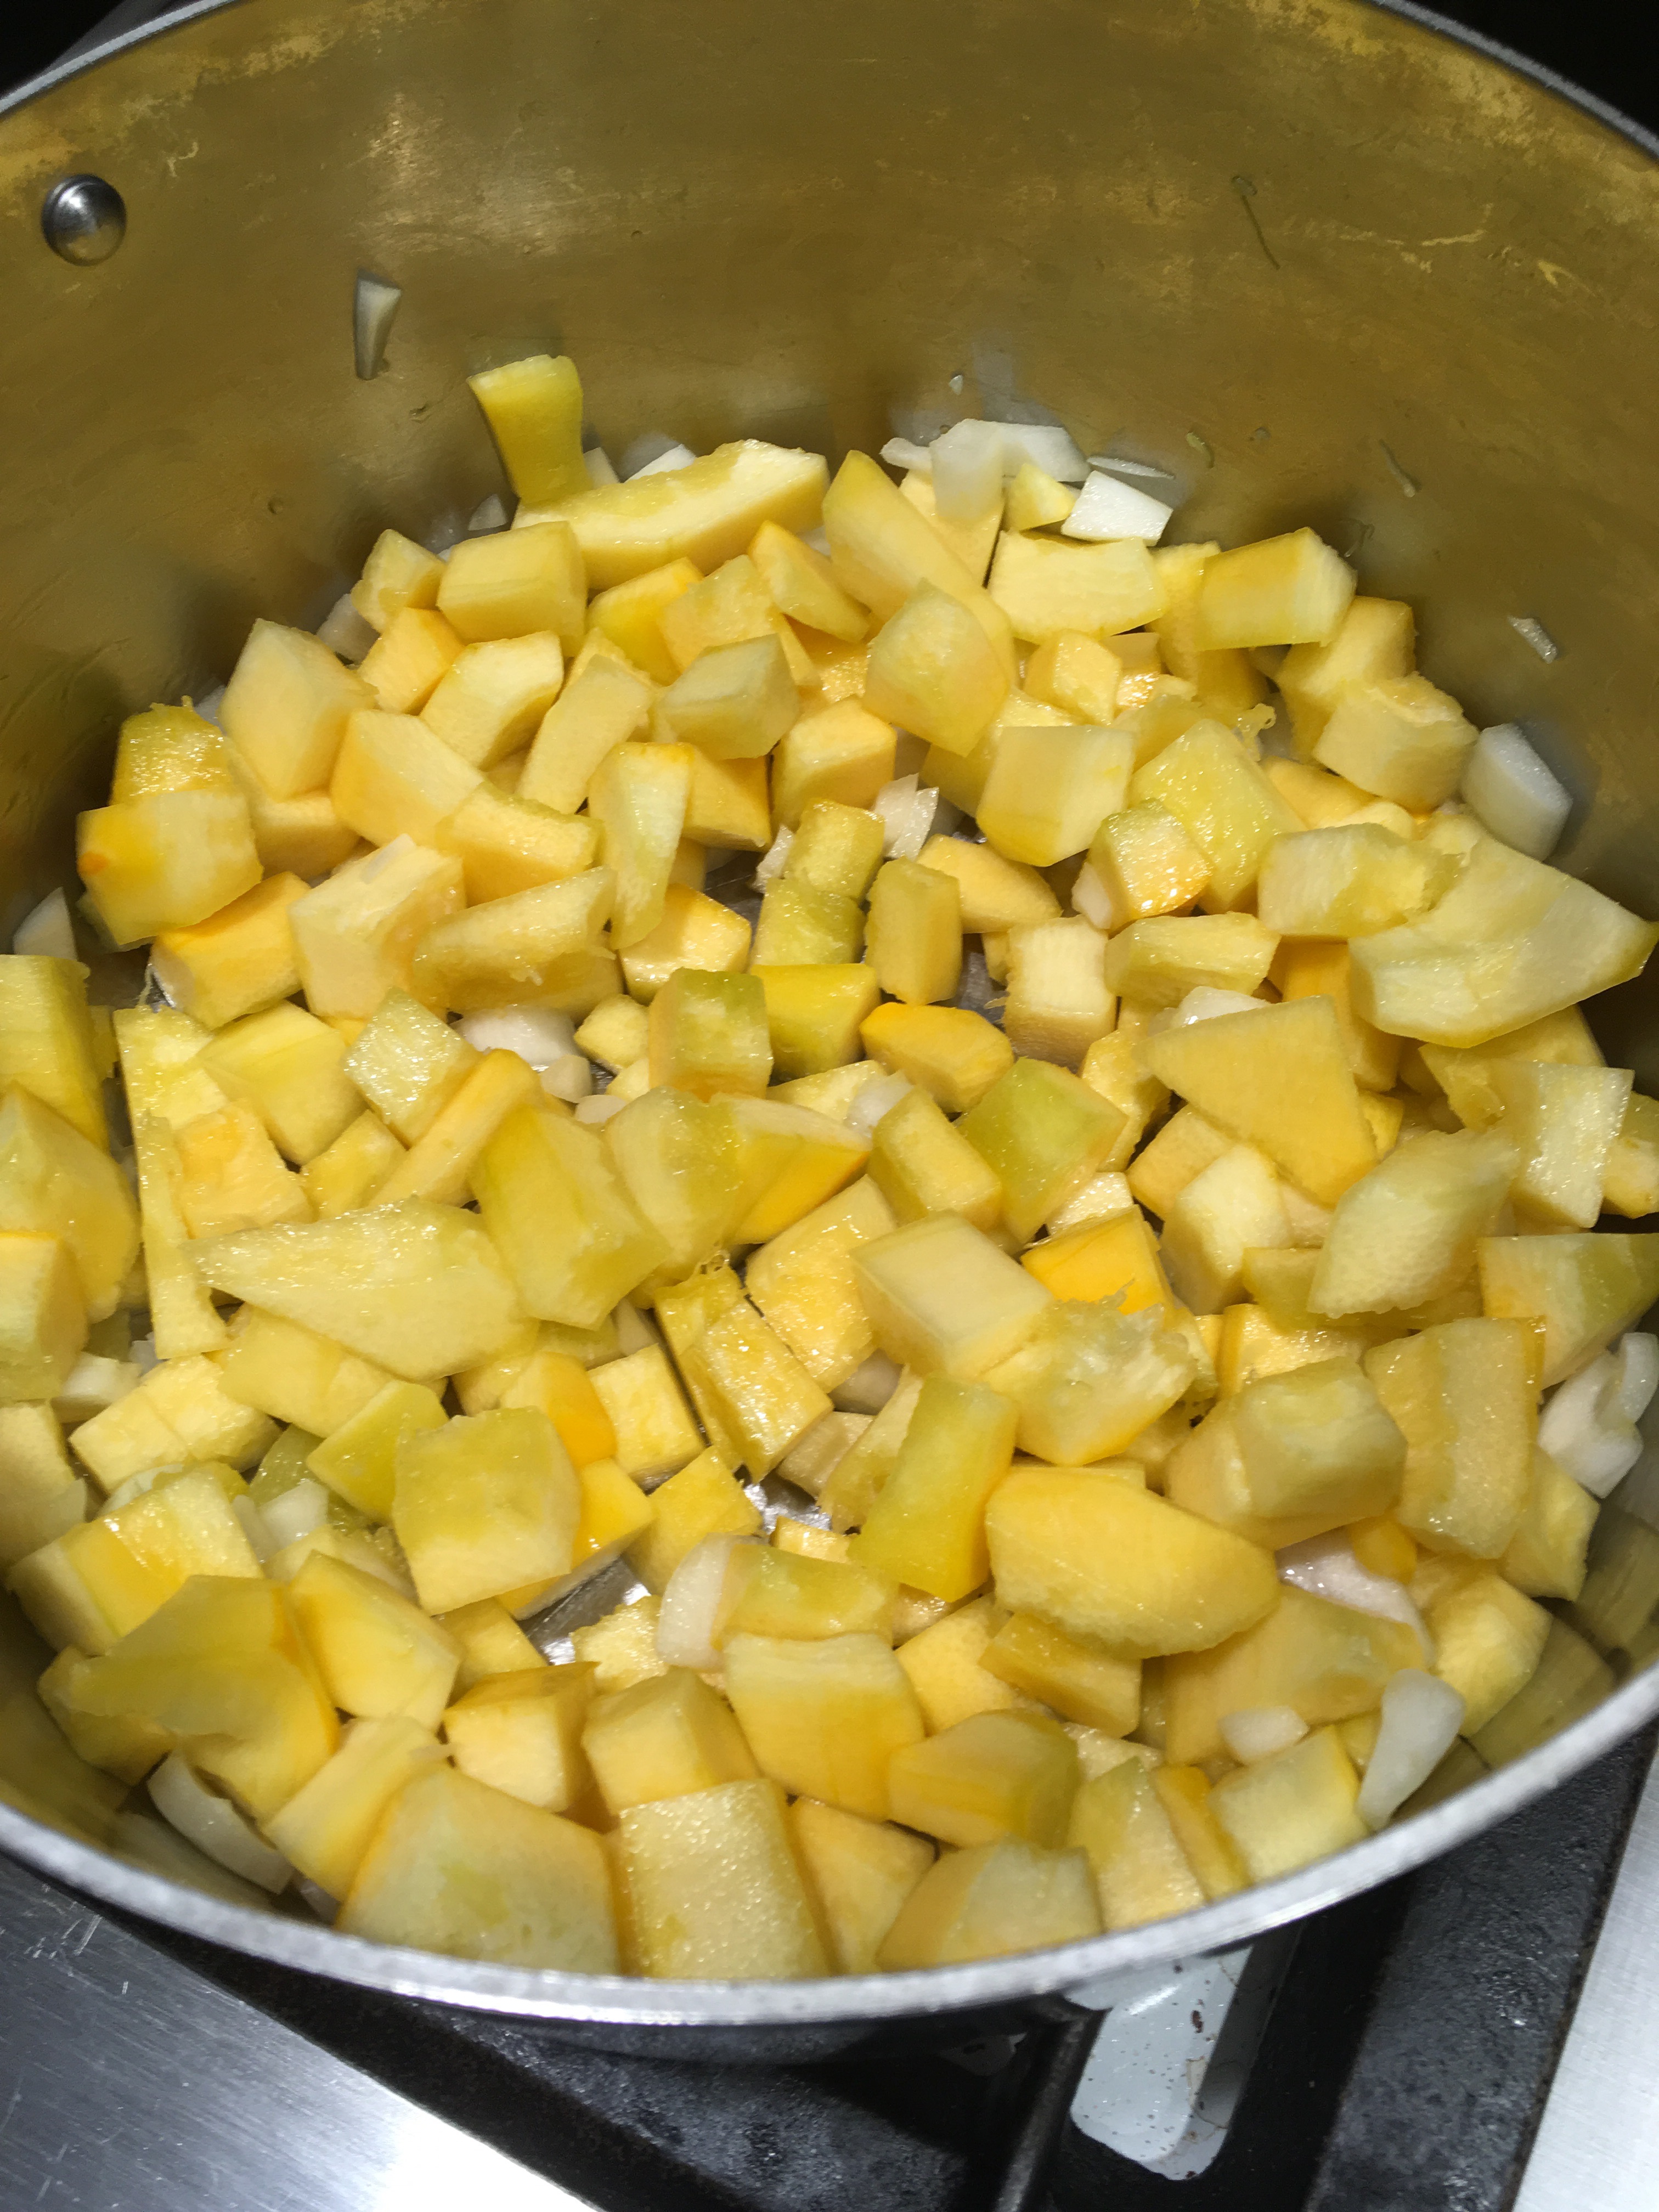
2 cups of diced chicken, white and dark meat

2 large carrots diced

2 stalks of celery diced

1 small onion or 1/2 medium onion diced

1/2 bulb of fennel sliced thin and chopped

2 russet potatoes peeled and chopped.

1 cup sliced cremini , button or shitaki mushrooms

1 litre of chicken stock (store bought or home made)

salt and pepper to taste

Thyme fresh or dried or any other seasoning you feel like adding.

1/4 – 1/3 all purpose flour for thickening

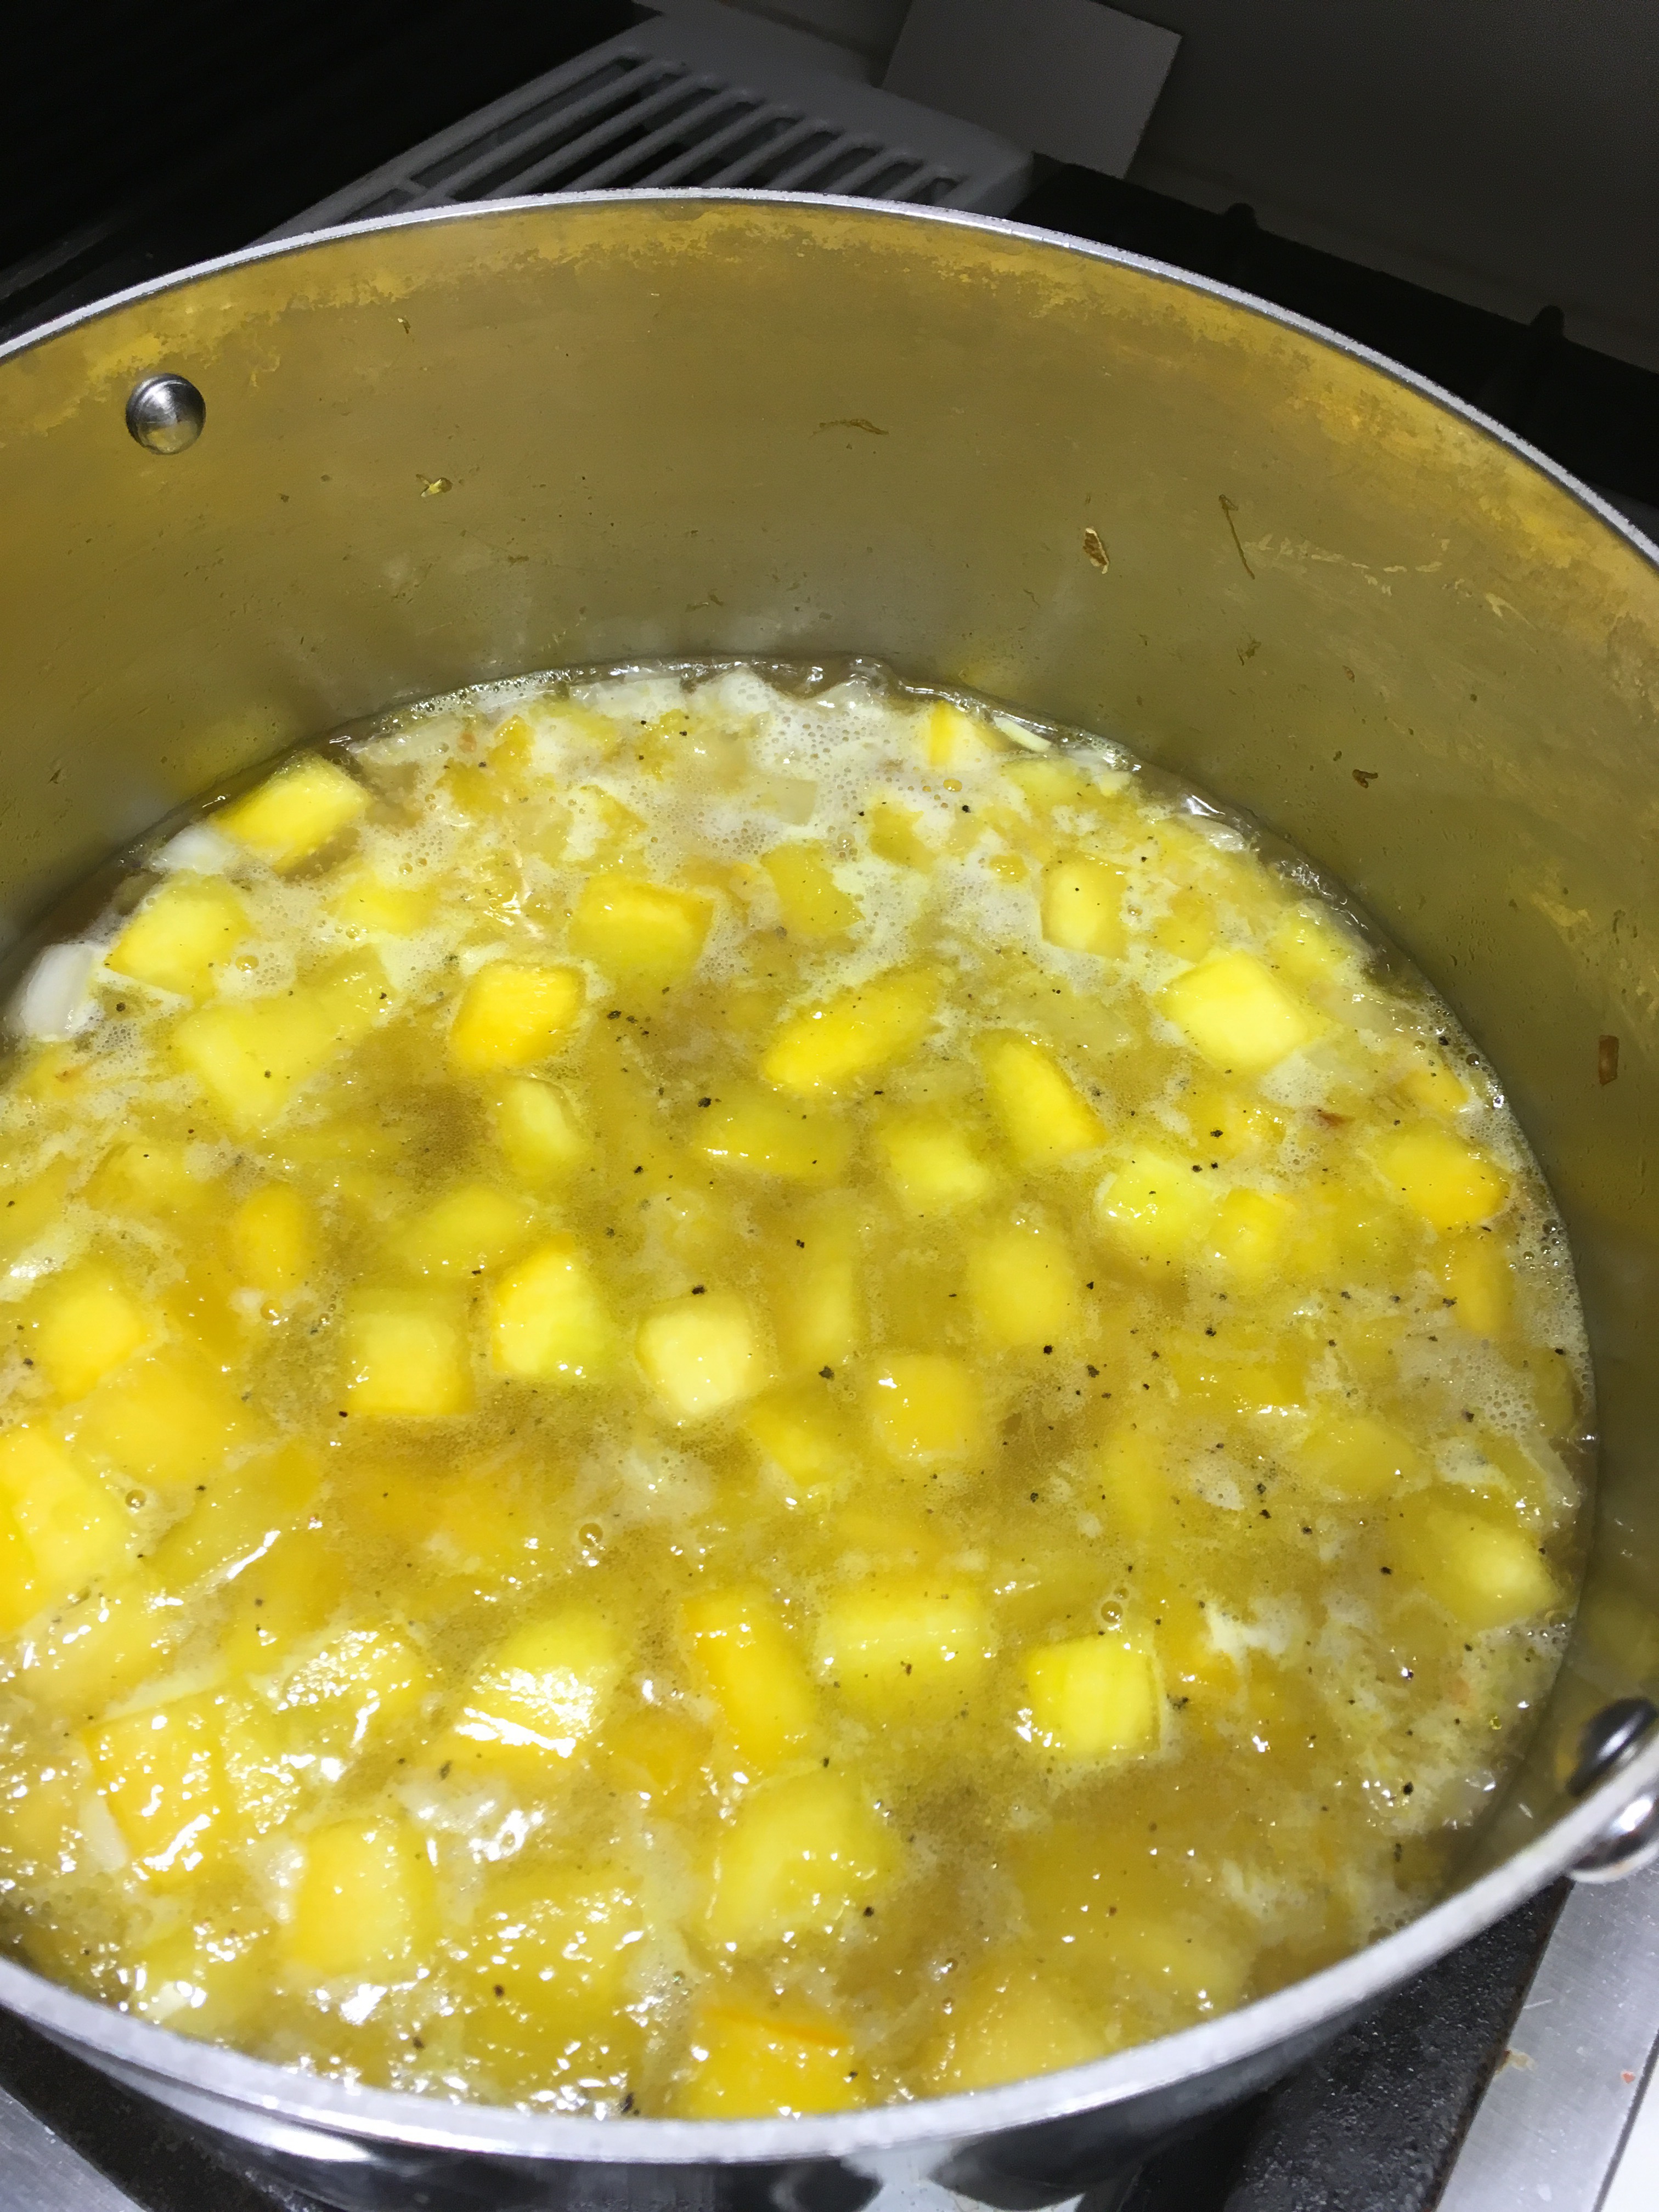
Add the vegetables and saute until becoming translucent and slightly carmelizing.  Add chicken and chicken stock and stir well. Mix the flour in 1/2 cup of stock or water and add to vegetable/chicken mixture.  Cook until thickened and then pour into pastry shell.

** If you want it to be gluten free, you can use Gluten Free gravy mix instead of an all purpose roux for the thickener as well as a gluten free pastry mix for the crusts.

Roll out second round of pastry and add top layer.  Add a few slices to top to act as air vents.

Depending on how deep the pie plate is this may make two pies.  If I have too much for one pie but not enough for a full second pie I have put the remainder in a small casserole dish and use pastry for the top layer.  Its a little lighter for a meal than having 2 layers of pie crust.  Just as tasty though!! 🙂

Bake in a 350 degree F oven for 40 min or until the crust is lightly browned.

You can serve with a side salad or coleslaw.  So delicious!!

img_5948

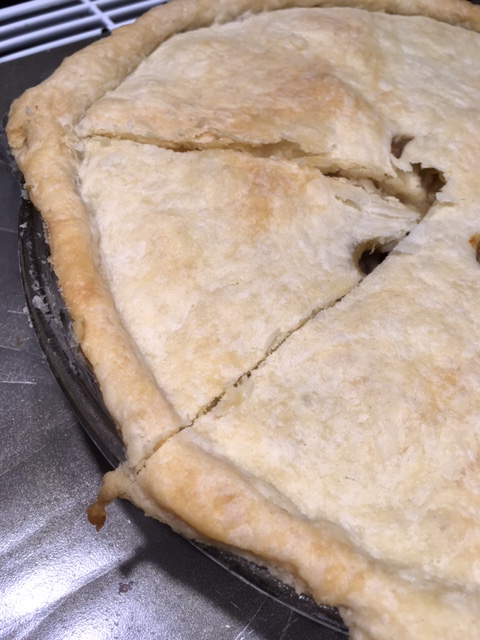
I hope you give this a try. The picture above should have a darker crust but my oven was starting to give me grief and I couldn’t set the temperature accurately.  Still waiting for my new oven to be delivered! Yay!!

LIVE LIFE FULLY ❤  – Charlene


YOGURT, HOWEVER YOU SPELL IT, IT’S YUM!

I recently purchased a Euro Cuisine yogurt maker and have been using it on a weekly basis since then.  I have been making plain yogurt and eating it with granola or adding it to smoothies and it’s so much better than store bought!  Also this machine is very user friendly 🙂

I tried several different fat contents of milk and have settled on 1% milk as that is what we drink in the house.  If you wanted a higher fat content yogurt you could use 2% or 3.25% milk.

Start off by making sure your equipment is very clean.  I clean the yogurt jars in the dishwasher and the lids in soap and water.

I use an empty yogurt jar and add 7 filled jars of milk to a deep sauce pan and set it over medium heat.  I whisk it gently to make sure it heats evenly and doesn’t scorch or get a skin on it.  This is where the quick read thermometer comes in handy!  The milk heats, but shouldn’t be boiling.

Once the milk reaches 180 degrees F take it off the element and let it cool a bit until it comes down to 112 degrees F. This can take approximately 30 minutes depending on how cool your home is.

At this point you add the culture and an optional addition is 1/4 cup of skim milk powder to make it a bit thicker.  This is a personal preference 🙂  Whisk until dissolved.  Try not to froth it up too much or you won’t have enough room for your milk in the jars.


I transfer the milk from the saucepan to a glass measuring cup which makes it easier to pour into the jars.  I usually make 7 jars, which is one layer because it’s only me eating the yogurt, but you have the capability to make 14 jars (2 layers) at once.  Very handy for a growing family!

Place the jars, lids off,  in the base of the yogurt maker and cover with the plastic cover.  On top of that place the lids and then the top cover covers the lids.  Set the timer and you are on your way to creamy, tasty, homemade yogurt ❤  Make sure no one unplugs the machine while its cooking 😦

You have the ability to add chopped fruit or jam to the yogurt for flavour prior to cooking, but, I like plain and then I can customize it at breakfast.  Depending on what fruit is in season the options are endless.  I also make some homemade granola that I add on.

Once the time is up, you put the lids on and place the jars in the fridge.  The lids have little date markers on them so you can either set the date for 10 days from the day you are making them (best before date) or the date you made the yogurt.

img_5695

I hope you are able to try this as it really takes the mystery out of making your own yogurt!

LIVE LIFE FULLY ❤  Charlene

LATKES! MY FAVOURITE :)


img_5869 


Firstly, Happy New Years to all of you!  I wish for a happy, healthy, peaceful, positive and prosperous 2017 to each and every one of you 🙂  Thank you for following along!  It’s been awhile since I’ve blogged, so I thought I should sit down and start the new year off right!

A couple of times a year I make Latkes for supper and that is the entire meal.  Probably not the healthiest meal as they are fried but sooooo tasty ha ha.

INGREDIENTS:

6 – 8 russet potatoes

1/2 medium onion grated

1/4 cup all purpose flour

3 eggs

2 tsp of baking powder

salt and pepper to taste

canola oil

sour cream

apple sauce

I start off peeling russet potatoes and putting them into a large bowl of cold water.  Once they are all peeled I grate them using my Kitchen Aid food processor. I use the smaller grate setting as the pancakes tend to cook quicker.  Before I had my food processor I used to grate the potatoes by hand and it made shreds thin enough that they cooked well, but it was just too hard on my hands grating all those potatoes.

img_5874

Once you have grated all the potatoes put them into a large bowl handful by handful after squeezing them to remove a lot of the liquid.  You will end up with a lot of orange coloured water with a lot of potato starch in the bottom of the bowl which you can throw out. They oxidize with being out in the air. They start going white again once you start cooking them.

Add the grated onion, flour, eggs, baking powder and salt and pepper and mix thoroughly.  I use my hands for this as well or you can end up with clumps of flour and egg.

img_5880


Heat approx. 1/4″ canola oil in a frying pan and once heated, drop 1/3 cup approx. of potato mixture into oil and flatten slightly so they cook evenly.  I set the element on high as I have a gas cook top.  I also use 2 frying pans to make the process go a bit quicker.

As each batch is done I put them on a paper towel lined cookie sheet and keep in a 300 F degree oven to warm until ready to eat.

Once all cooked its time to eat! Best part by far!! Sour cream and apple sauce and salt and pepper.  We sometimes have a few left and they can be heated up in the toaster oven for breakfast or lunch next day.

I made the first batch using 3/4 of a russet potato,  4″ piece of zucchini, and 1 small carrot and a small piece of onion and they tasted quite good.  A good way to get in additional veggies if you have kids :).

It’s a great meal. Enjoy!!

As always…LIVE LIFE FULLY ❤

~Charlene


SQUASH SOUP…AUTUMN FAVE


I recently received a couple of squash from a co-worker’s garden and quickly went to work preparing the best squash soup ever!!

I actually had a butternut and a spaghetti squash but it worked out fine.

1 large butternut squash or two small (or variety of your choice)

2 Tblsp olive oil

1/2 sweet onion chopped

1 clove garlic

1/2 carton of vegetable or chicken stock

1-1 1/2 tsp of Garam masala (you can use curry, turmeric etc)

Salt and pepper to taste

1 can coconut milk

Day old crusty bread

Peel the butternut squash, cut in half and scoop out the seeds. Then cut into small chunks.

Put the squash into a deep pot with 1 Tblsp olive oil and the onion and garlic and cook until soft and tender and very slightly carmelized.


For the spaghetti squash, cut in half, scoop out seeds and place cut side down in a pan with a bit of water and cook in 350 degree oven for 35 min until skin is soft and fork pierces skin easily. Scoop out stringy flesh and add to pot with butternut squash.


Mash or put into blender and purée until smooth. Add broth, and spice and stir until heated through. Add 1/2 to 1 tin of coconut milk according to taste and to make sure it’s not too runny.

Cut the day old bread into cubes and fry til golden brown in remaining olive oil.

Serve in soup bowl and garnish with croutons.


Enjoy!!

LIVE LIFE FULLY ❤️

FABRIC AND DESIGN FUN :)

My daughter had purchased some material from our local fabric store and wanted me to make her a blouse/shirt with it.  It happened to be a Cotton and Steel fabric and because the white of the bunnies is not a true white I couldn’t match it, so we went with a solid black fabric.  It turned out so cute and she has gotten a lot of wear out of it and a lot of compliments.  Its definitely an original and no one will have the same one out there!

She can dress it up with black or white pants or use it as a jacket with a simple tee underneath.

E4F8A7BD-4294-463F-8C68-AE86F1F7DE86

B57EEBB4-9EFA-475F-8B5E-CB5C5CFBA9E5

I had to definitely think about the direction that the bunnies were heading when I made the cuffs and Nehru collar.  Almost ran out of material 😦   I used plain black buttons down the front and then vintage buttons on the sleeves and neck.  With fall coming its a fun addition to her wardrobe.

This was a fun project and although not perfect we had fun designing and executing our plan.  Next project??? Stay tuned!  🙂

LIVE LIFE FULLY ❤